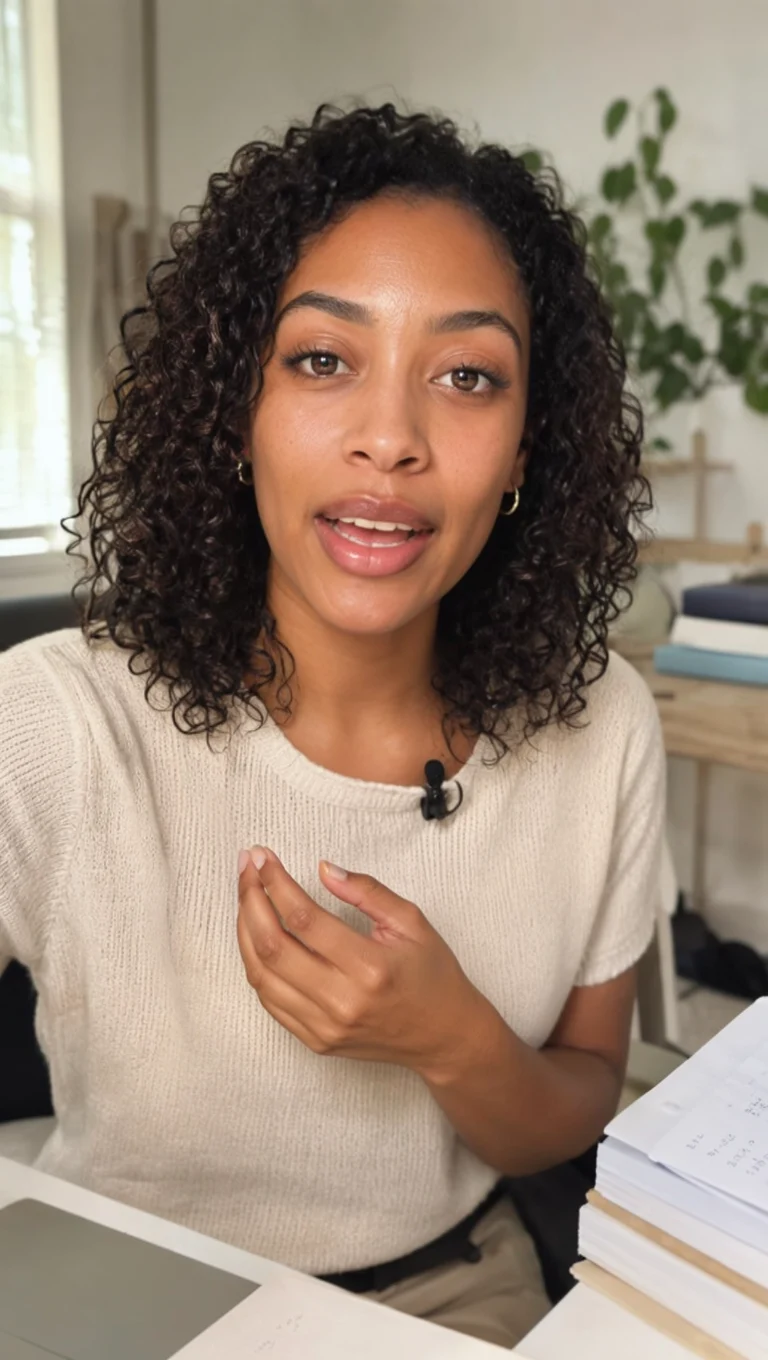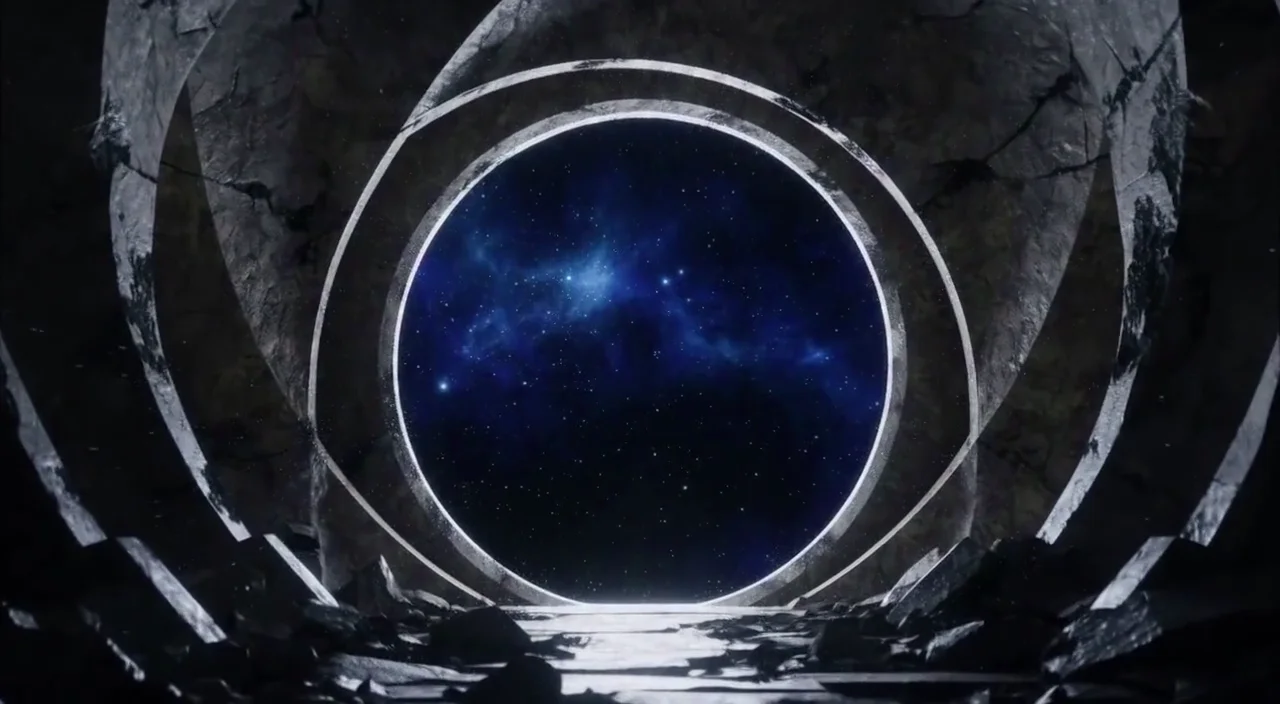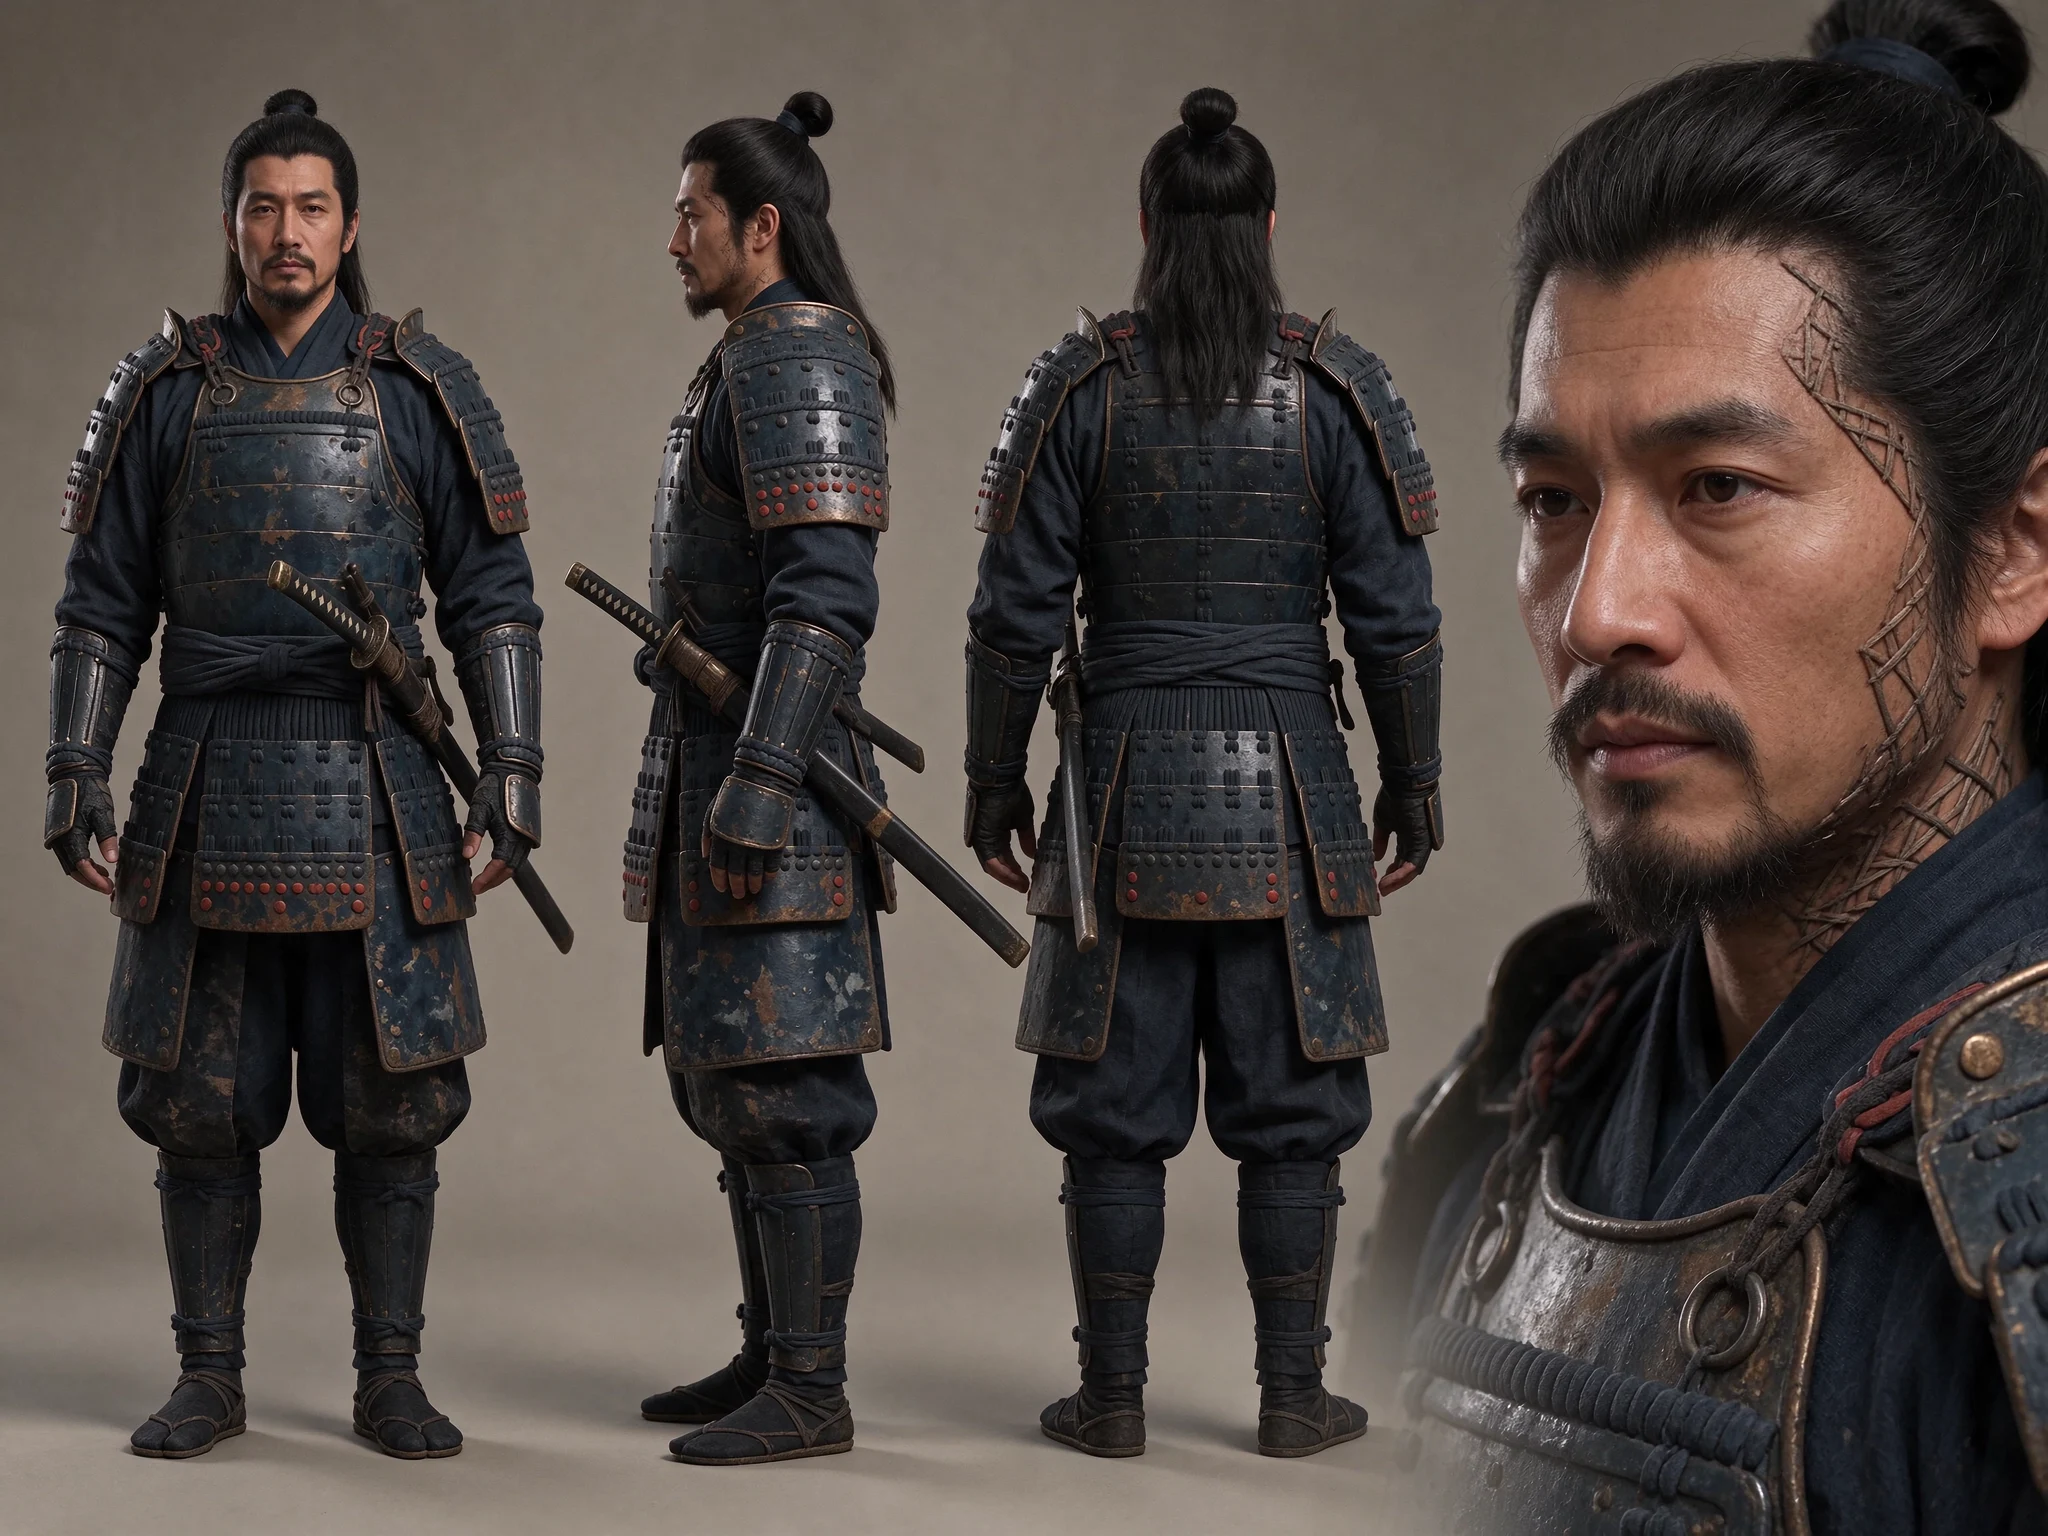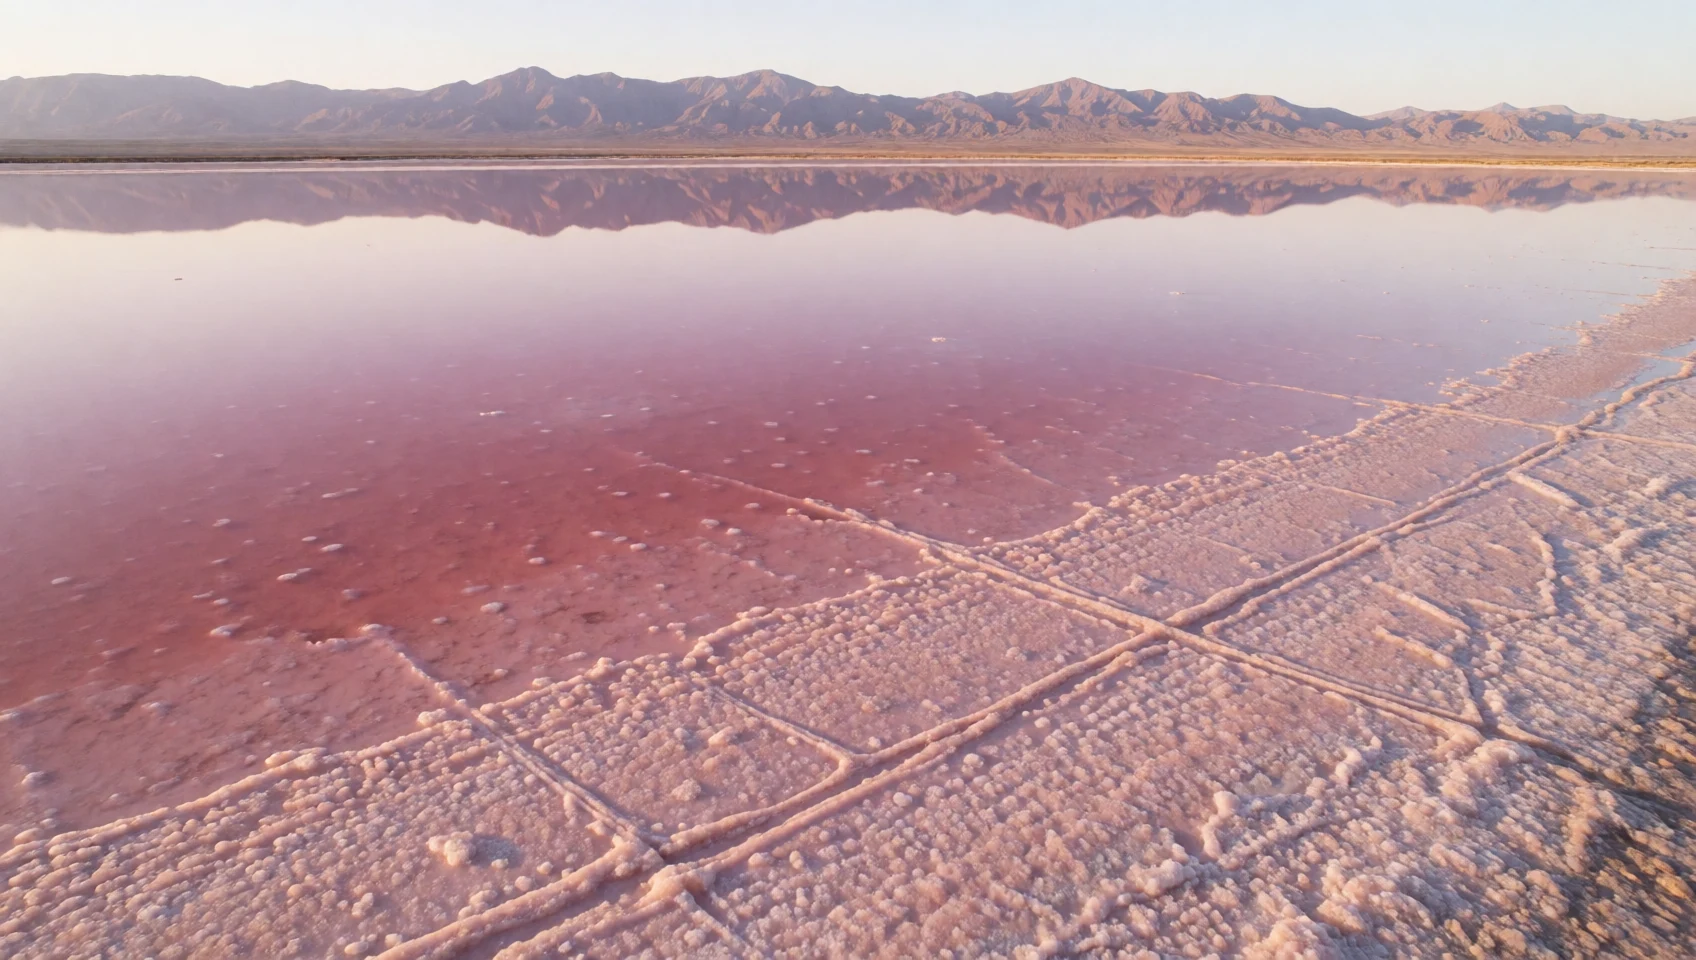
The outcome
A short, assembled video that starts from a deliberate visual direction rather than a collection of unrelated generations. You will create or choose an image, animate it, organize the resulting clips and export an MP4.
Before you start: you need access to an image-to-video workflow and a starting image you have permission to use. Available models, references and generation allowances vary by account.
Start with a strong first frame
Open Image to create a visual, or choose an existing image from My library. Write a prompt that separates the subject, setting, lighting and composition. A clear subject and room for movement give the next step a stronger foundation.
Review the result at full size. Check details that motion may exaggerate: hands, faces, product labels and edges. If needed, open the image editor and save a new version before animation.
Turn the image into motion
From a compatible image result, choose Animate this image, or open Video and select the image as a supported reference. Choose an image-to-video workflow available to your account.
Describe the action and camera movement, not just the still image. For example: “A slow approach toward the coastal observatory. Soft light moves across the concrete. The building keeps its shape and the horizon remains stable.” Set duration and composition using the controls your selected model exposes.
Build the sequence in Storyboards
Open Storyboards and create your sequence. Add shots from the Video workspace, a template, an existing video or a new shot. Each shot retains its prompt, model, references and selected take.
Use Open in Video when you need the full generation controls for a shot. Render individually or use Render missing shots. Once generation finishes, choose the take that serves the story and reorder shots using the drag grip or arrow buttons.
Keep the sequence simple: an establishing shot, a detail and a closing moment. A new successful take becomes selected automatically, but you can choose a previous take again.
Export and review the finished film
When every shot has a selected clip, set optional trims and mute controls. Choose Export video and select 720p or 1080p, with landscape, portrait or square framing. For music, recorded voiceover, fades or captions, choose Open video editor first.
The assembled H.264/AAC MP4 is saved to the Library and project. Play the export from beginning to end. Check framing, cuts and sound on the device where your audience will watch it.
Review the current shot-count, duration and export limits in your account before assembling a larger sequence. Keep your source clips available so you can return to the edit.